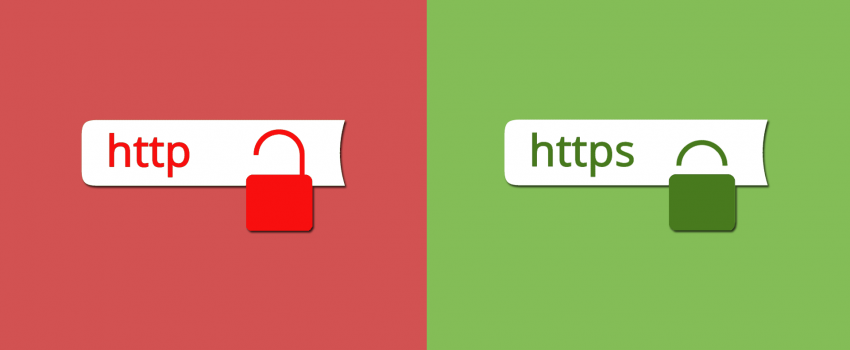
Securing Your Web Pages Using HTTPS
Internet browsers such as Chrome, Firefox and even Edge (upgraded Internet Explorer) have started showing insecure warnings on sites without SSL certificates in the last couple of years. Without SSL, your site will show and be insecure to visitors. It becomes very important this days to redirect your old site from http to https. Therefore, using an SSL-encrypted connection for safety, accessibility and compliance with current regulations and trends is necessary.
What is SSL?
SSL (Secured Socket Layer) is a standard security protocol for establishing encrypted links between a web server and a browser in an online communication. It's the standard technology for keeping an internet connection secure and safeguarding any sensitive data that is being sent between two systems, preventing criminals from reading and modifying any information transferred, including potential personal details. The two systems can be a server and a client (for example, a shopping website and browser) or server to server (for example, an application with personal identifiable information or with payroll information).
There are ways to get an SSL Certificate, one is to maximize and use the SSL Certificates from your hosting provider, another is to purchase an upgraded SSL Certificate with tons of security features and validation. You can try to activate your free ssl on your hosting provider. check a sample instruction in here;
Editing .htaccess file
Before we move onto redirecting HTTP to HTTPS, first make sure to apply and get your FREE SSL on the instructios above. Below are the steps on how you can edit .htaccess file. There are directives in the .htaccess file that tells the server on how to act in a certain scenarios and directly affects how your website functions, two of those are;
- Redirects
- Rewriting URLs
Ways to edit .htaccess file
- Copy the .htaccess file from your hosting to your computer using a third-party FTP program like Filezilla and upload once done.
- SSH to your site and edit the .htaccess file
- Use the File Manager in your hosting (cPanel) to edit the .htaccess file in the root folder.
Editing .htaccess file using cPanel
One easy method to edit the .htaccess file is to login to your hosting site in cPanel. (Backup your website first in case something goes wrong).
- Login to cPanel.
- Select File Manager and open your Document Root.
- Select the Domain you want to access and don’t forget to check “Show Hidden Files”.
- Click Go.
- It will redirect you to your document root and look now for the .htaccess file.
- Make a backup of your .htaccess file on the same folder by right-clicking it and choosing copy. Rename the new copy as .htaccess-bak.
- Now, choose the .htaccess file, right click and choose edit on the sub menu.
- A dialogue box will pop-up asking about encoding. Click “Edit” button to continue.
- Edit the file (refer to the below codes on what do you want to put in or edit).
- Save changes when done.
- Test your site to make sure you have done it correctly.
Redirecting HTTP to HTTPS
Redirect All Web Traffic
If you have existing code in your .htaccess, and add the following below it;
RewriteEngine On
RewriteCond %{SERVER_PORT} 80
RewriteRule ^(.*)$ https://www.yourdomain.com/$1 [R,L]
Redirect Only A Specific Domain
For redirecting a specific domain to use HTTPS, add the following;
RewriteEngine On
RewriteCond %{HTTP_HOST} ^yourdomain\.com [NC]
RewriteCond %{SERVER_PORT} 80
RewriteRule ^(.*)$ https://www.yourdomain.com/$1 [R,L]
Redirect only a specific folder
Redirecting HTTPS on a specific folder, add the following:
RewriteEngine On
RewriteCond %{SERVER_PORT} 80
RewriteCond %{REQUEST_URI} folder
RewriteRule ^(.*)$ https://www.yourdomain.com/folder/$1 [R,L]
***Note, make sure to replace the “yourdomain” with the actual domain name wherever required. This is also applicable to the “folder”, rename it accordingly.


